

Since we are talking about birthdays, I figured a tutorial on the invitations for T-boy's 6th birthday might be in order. They were more complicated than some of the invites I've done in the past, but since the rest of the party was very simple, I allowed a bit of my over-the-top-gene to spill out.
.
Here's the 'structions (as T-boy would say):

I printed sheets of cardstock featuring the spaced-out words: T-boy, Birthday, Pull, and the number 6. The Pull sheet needed to be horizontally oriented to make the pull-tabs.

- 10x7" piece cardstock, folded in half to make 5x7" card - I stamped a plaid pattern lightly around the edges for interest.
- 5x7" piece matching cardstock for inside panel.
- 2 4x6" pieces contrasting cardstock for front mat and inside mat - round opposite corners
- 3.75x 5.75" piece notebook paper for front - round opposite corners
- 3.75x 5.75" piece cardstock printed with party details - round opposite corners
- 1x6" strip cardstock - round 1 corner
- 1.25x5.75" strip patterned paper - round 1 corner
- 1x7 strip patterned paper

- 3x3" piece white cardstock
- 1x7" pull-tab featuring word "pull"
- Half a 1" heart featuring "T-boy"
- Piece of cardstock with swirly exhaust stamped on it
- Large cloud cut from patterned paper
- 2 small clouds cut from cardstock and stamped with plaid stamp
- 1" circle of cardstock
- Plane body (half a large heart, cut in half and beveled in for nose and cockpit)
- 3 1" hearts
- 1" heart featuring "Birthday"
- 2 tiny hearts
- 2 tiny heart featuring number
- Tiny button
- Little square of cardboard
*Cut hearts as shown in picture

- 1" heart pieces make up the nose, cockpit, side wing, plane name and tail wing.
- Tiny heart pieces make up the pilot's head, wing numbers, engine, flames and lower tail wing.
The easiest way to put this together is with a Xyron sticker maker. I ran all the pieces through and then assembled the plane. Then I ran the whole plane through the sticker-maker to create a single/united plane sticker. I finished by mounting the whole plane (with exhaust) on the white cardstock and cutting it out leaving a small border.

For the plane path, I drew a worm-looking shape on the front of the card and cut it out using a rotary paper-cutter.

Note: The lower small cloud is mounted on cardboard to give it some *pop*.

I used hot glue to attach the tiny button to the back of the plane.

Attached the cardstock circle to the end of the pull tab.

Put the airplane-button up through the 'worm-hole' and attached the button to the cardstock circle with hot-glue. After the glue set I adhered the piece of cardstock meant for the inside panel over the top of the airplane pull tab operation, leaving the side the pull tab sticks out of open for easy movement.
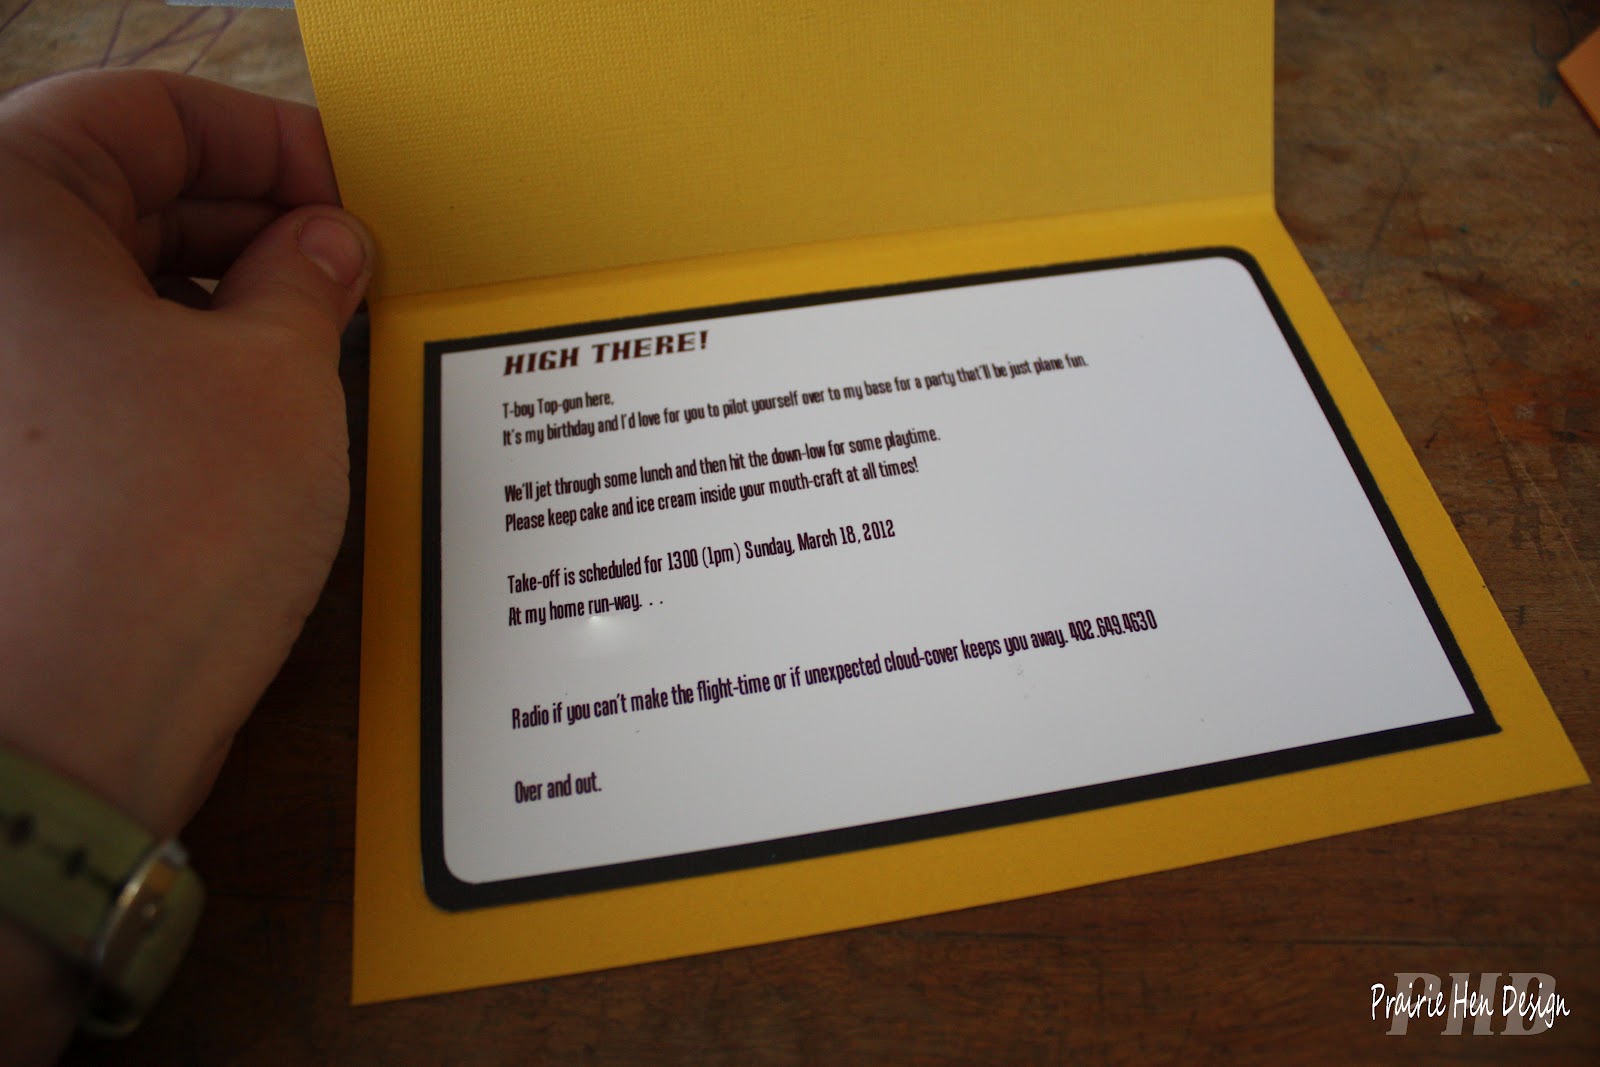
Party details were added to the inside.
And voila, we are ready for take-off!!
T-boy was impressed and totally pleased when he found out I had saved one back for him to play with. Lucky him, that wasn't even his only birthday gift!
Please feel free shoot me any questions you may have about making these. I realize they look pretty detailed but I had fun creating them and once I figured out how I was going to do it, the whole thing came together pretty quickly.
Love,
Bit and Pieces in NE
P.S. It also helped I only made 6 of them! {wink}
No comments:
Post a Comment
Thank you for stopping by. Your comments make me smile.